The use of neutral density filters is a great way to introduce a new level of creativity into your landscape photography. ND filters allow you to use slower shutter speeds, narrower apertures for increased depth of field, to balance light across different parts of your images and to control frame rates and exposure when creating videos or timelapse. But with the huge variety on the market, where do you start when investing into neutral density filters?
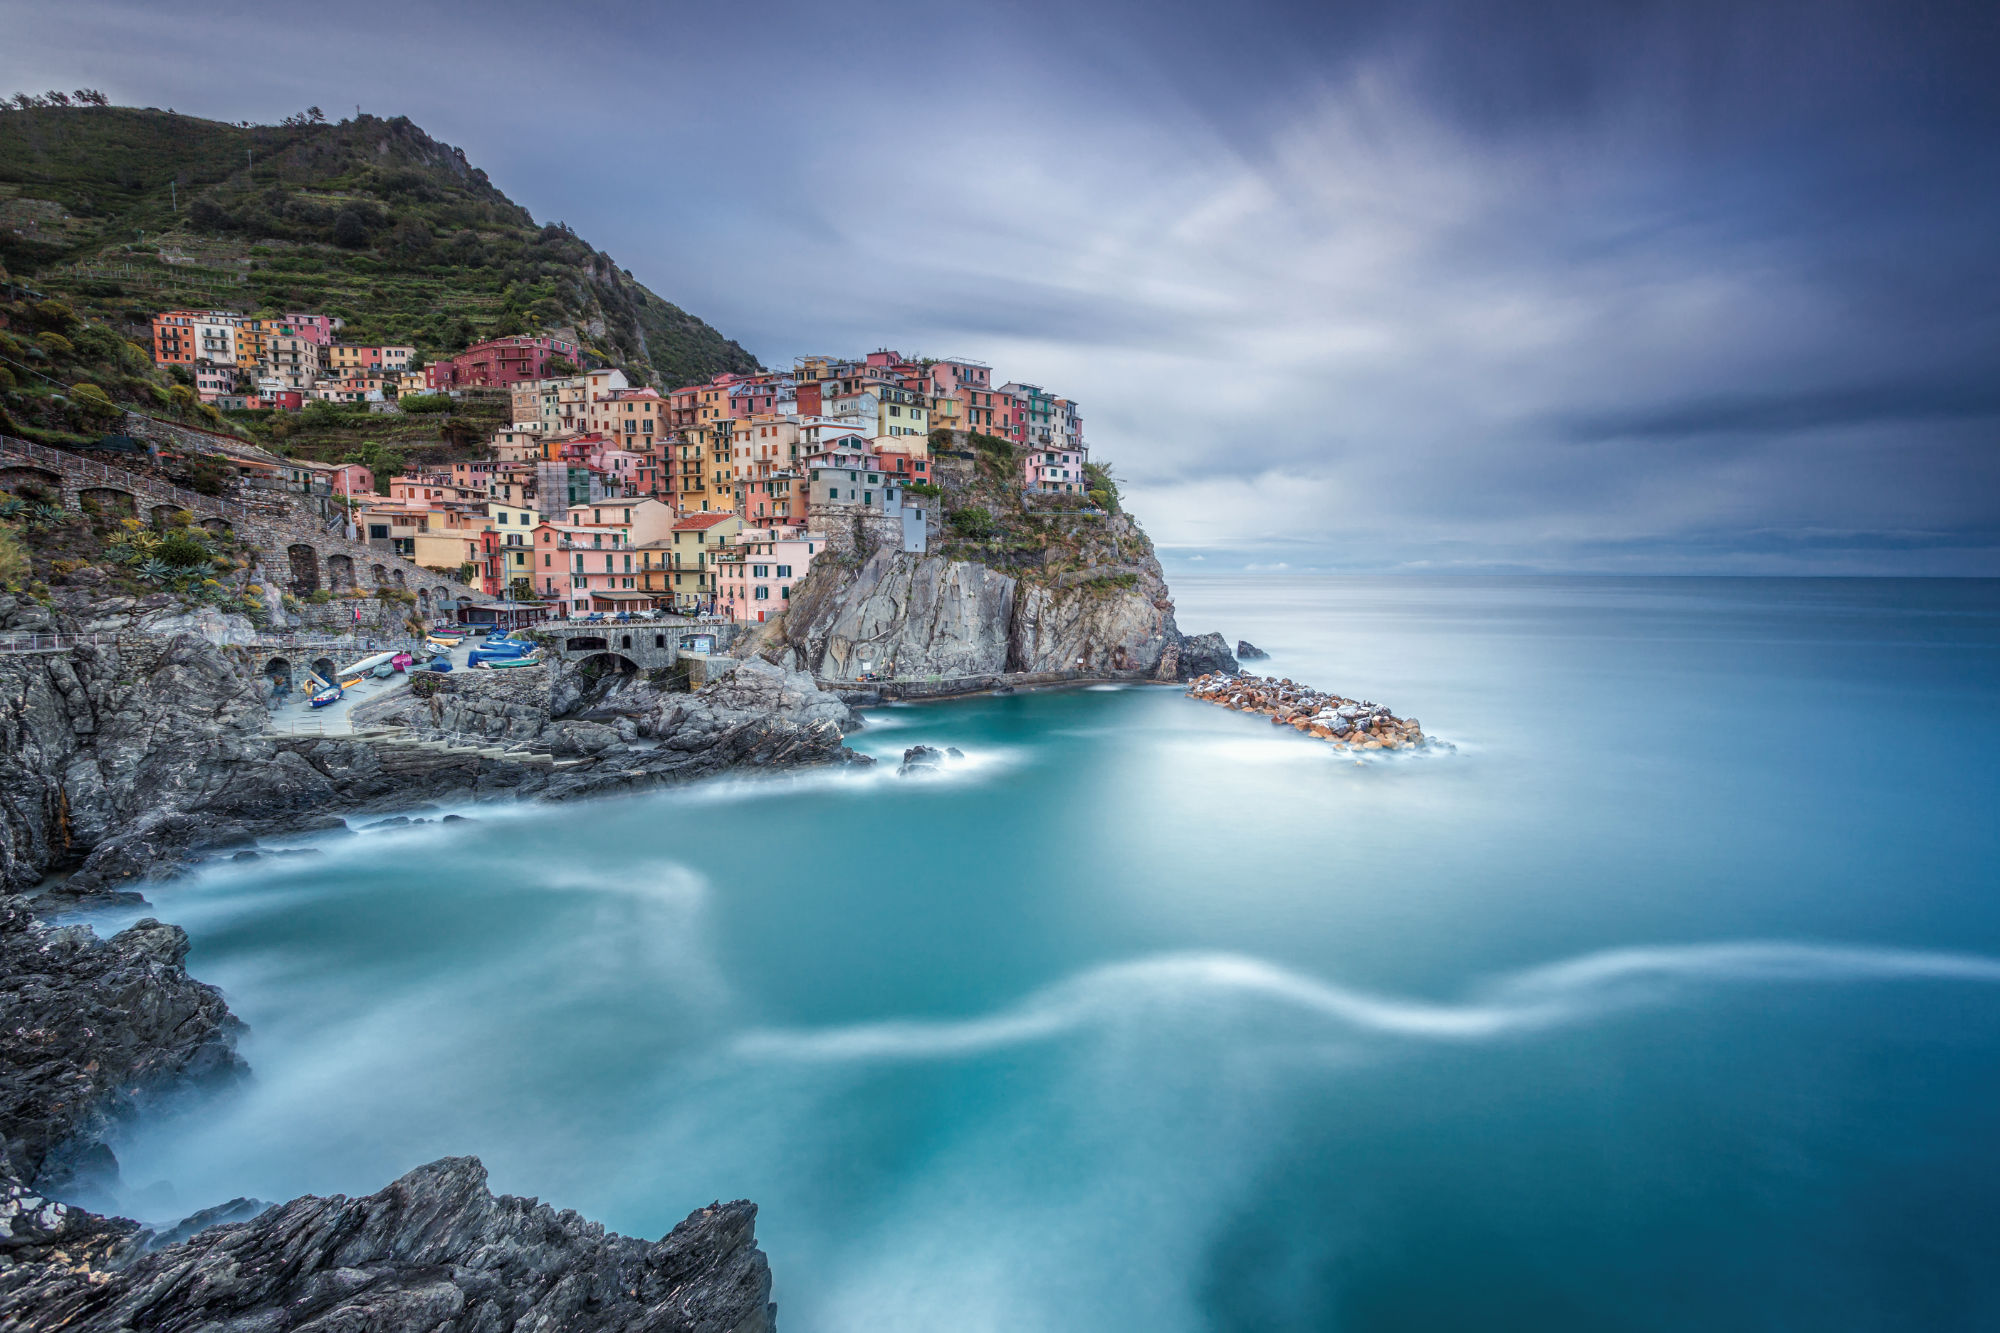
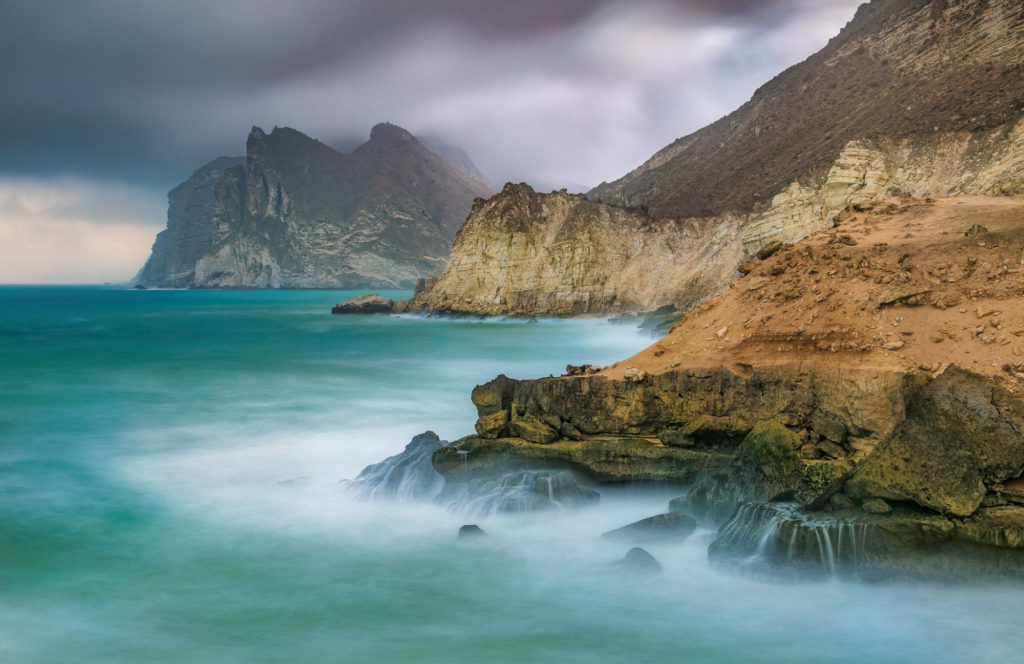
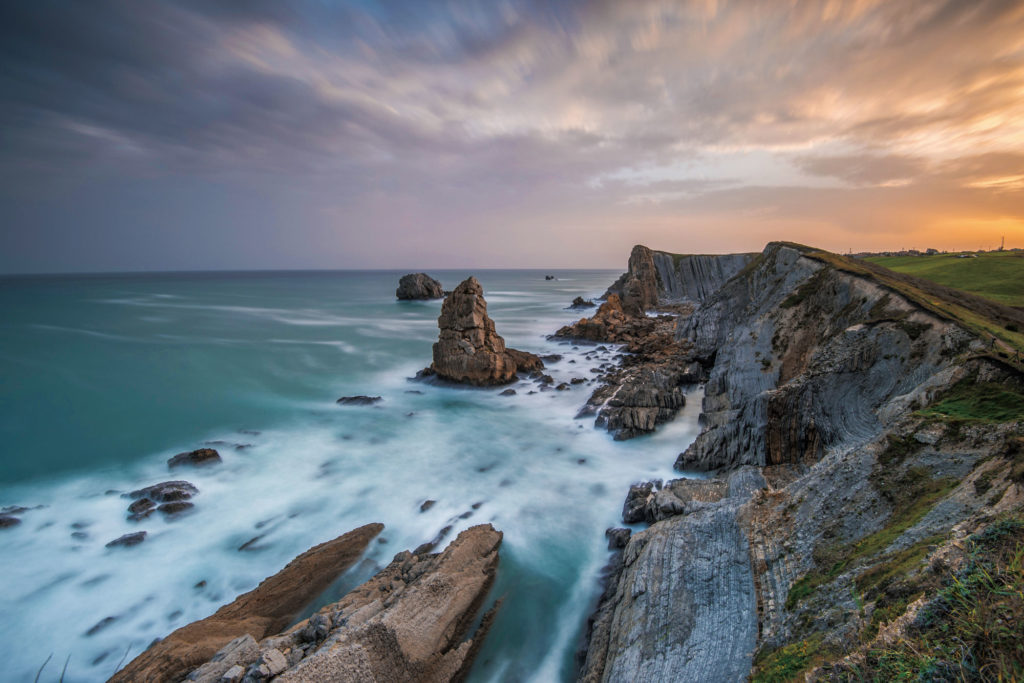
When you first start to experiment with long exposure photography, the 10 stop (ND1000) is the perfect neutral density filter to begin with. A 10 stop ND filter allows only 1/1000th of the ambient light to reach the sensor and can be used during sunrise, sunset and the brighter parts of the day in between. You can achieve artistic effects like perfectly silky smooth water and streaky clouds. It is also possible to maintain texture in water rather than the silky, dreamy effect longer exposures are known for. You can “remove” people and other moving objects like cars or buses from a scene.

Within the NiSi product range 10 stop ND filters are available in circular screw-on filters in sizes ranging from 40.5mm through to 95mm, and also in all of our square filter systems in 75mm, 100mm, 150mm and 180mm sizes.
When shooting long exposures it is important to have a stable platform such as a high quality, sturdy tripod to mount your camera. It is also very beneficial to have a shutter remote, or to use the cameras shutter timer to ensure you are reducing the chance of any vibrations through your camera when you press the shutter button. To calculate exposure times accurately when using a 10 stop neutral density filter check out our NiSi Filters app which is available for both Apple and Android devices.
Here are 6 reasons why the 10 stop should be your first neutral density filter to get you experimenting with long exposure photography through the use of creative shutter speeds.
Shoot longer exposures in the day time and brighter light
In the brighter parts of the day when the sun is higher in the sky it can be difficult to shoot longer exposures without the use of ND filters. The amount of light that is available during the day means your camera will be required to expose scenes with faster shutter speeds which can easily be in the range of 1/250th – 1/2000 secs. By using a 10 stop ND you can slow a shutter speed of 1/250th secs down to 4 seconds which will be enough to get creative with your exposure times at a time of the day when it would generally be impossible to shoot long exposures.
Tip – Use the NiSi Filters app to calculate your exposure times when using a 10 stop ND filter. Take a meter reading of your scene without the filter and dial the values into the app to calculate your required exposure times. Shoot a variety of exposures at different shutter speeds and select the best of the for post processing and sharing. The longer the shutter speeds, the more movement or smoothing of water and clouds you will see.
Capture streaky clouds
Cloud movement can add to the sense of time and motion when your images are being viewed. This sense of movement will draw viewers into your image and make them feel as if they are looking at an image while time is passing. Creating streaky clouds can add to the sense of drama and can be used at any time of the day, and in both colour and monochrome images. The more wind there is, the faster the clouds will be moving.
While it is possible to capture amazing images using just the 10 stop ND filter, the use of graduated ND filters in combination with a 10 stop could help you achieve a balanced exposure when the sky is brighter than your foreground.
Tip – The faster the clouds are moving, the more impact a 10 stop ND filter will have on accentuating this movement. Exposure times in the range of 30 seconds and above will be best for creating really streaky cloud motion under most conditions.
Capture smooth, silky water flow
When you are shooting the ocean, waterfalls, rivers, streams or other flowing water, the silky smooth effect that a 10 stop ND filter can help you achieve when shooting during the day will help you make your water look dreamy and surreal. The longer your exposure times and slower your shutter speeds, the smoother the water will be. Just remember that any other moving elements in your scene such as tree branches and other foliage may be impacted with longer exposures.
Tip – Shutter speeds of 5 seconds and slower will generally produce silky smooth water. Used in combination with a circular polarizer to reduce glare and reflection on the water, a 10 stop ND will typically be perfect for achieving this effect when the sun is high in the sky and there is a lot of light in your scene.
Can be used to remove people who are moving through a scene
As objects move through a scene such as a city street or tourist landmark when taking a long exposure image, the light changes in the locations they were previously in revealing the details in the scene where those elements were. A 10 stop ND filter can help you to hold your shutter open for longer and potentially seemingly “remove” people and other moving elements and help you capture it without those people “polluting” your scene!
Tip – The longer the exposure, the more likely it is that moving objects like people or vehicles will seemingly disappear from your images. Shoot multiple exposures of the exact same scene without changing any camera settings, then use those images as layers in Photoshop with a “difference” mode to attempt to remove any slower moving elements.
Create super long exposures at sunrise / sunset
At times of the day when there is less light that is available to your camera , a 10 stop ND filter will force your camera shutter to need to stay open for much longer. it is not unusual to have exposure times in the range of 0.25 – 30 secs without the use of any ND filters during a sunrise or sunset. With that range of shutter speeds, using a 10 stop ND filter will push exposure times out to 4 – 8 minutes! When there are clouds in the sky and any kind of water flow, these sort of shutter speeds will make certain that they are streaky and silky smooth.
Tip – If your exposure times are too long, use your ISO and aperture settings to help speed your shutter speed up. If your camera is metering for a 4 minute exposure at ISO100, a change to ISO200 will reduce the shutter speed to 2 minutes. A single stop increase in ISO will half your shutter speed and most current model DSLR and mirrorless cameras will easily handle ISO settings up to ISO800 – ISO1600 without too much of a loss in image quality.
Create textured effects in waves
Quite often an image will benefit from maintaining texture in moving water and waves rather than completely smoothing them out. A 10 stop ND filter can be used to get the desired shutter speeds of around 1/6 secs – 1/4 secs during the brightest parts of the day to keep texture and detail in moving water. The drama and added impact that this range of shutter speeds offers can make it feel like water is about to flow out of your images.
Tip – Aim for a shutter speed of 0.25secs to begin with and then varying your camera settings from there by using your ISO and aperture. The slower the water is flowing, the faster your shutter speed will need to be to maintain the texture.


